

How to Build an AR-15
A Beginner’s Guide
Building your own AR-15 platform is one of the most rewarding projects for any firearm enthusiast as opposed to buying one and just customizing it. Not only does it allow you to customize every component to fit your shooting style, but it also gives you a better understanding of how the rifle functions and how to clean and maintain it over time.
Whether you’re assembling your first rifle or adding another custom build to your collection, using quality parts helps ensure reliability, accuracy, and long-term performance.
In this guide, our team at Next Level Armament is going to walk through the basic steps of building an AR-15 while highlighting the components that make the biggest difference.
Why Build an AR-15 Instead of Buying One?
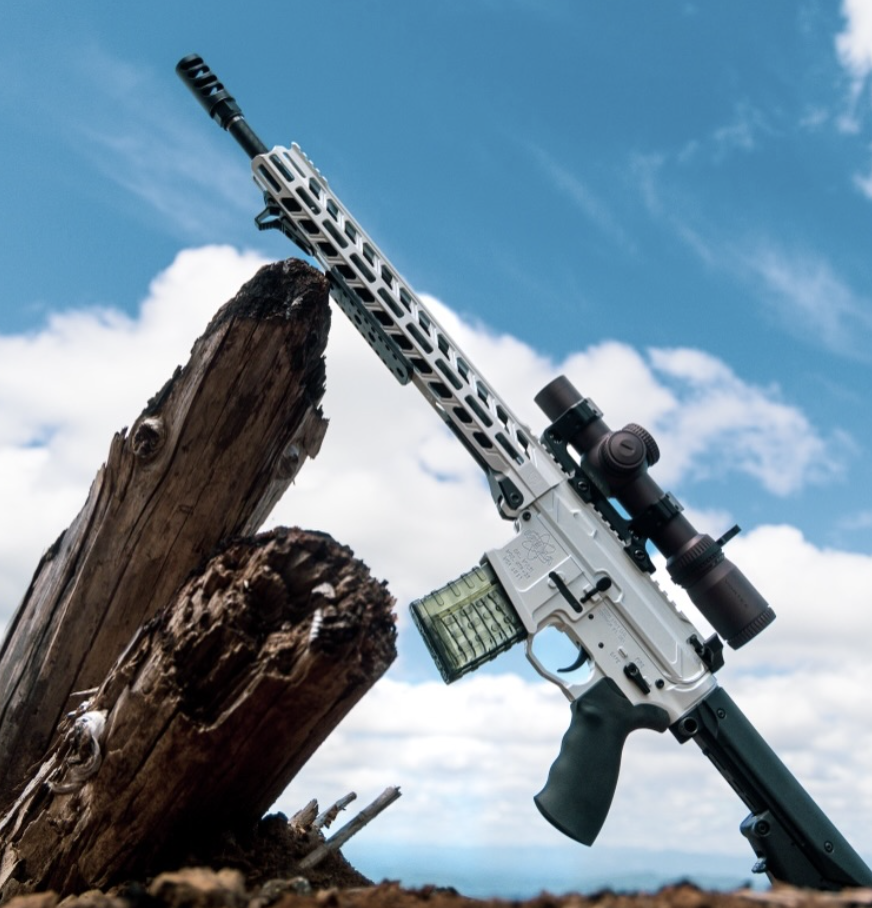
Factory-built rifles are an excellent option for many shooters, but building your own AR-15 offers several advantages:
- Customize every component
- Choose premium materials and finishes
- Upgrade only the parts that matter to you
- Learn how your rifle operates
- Easier troubleshooting and maintenance
- Build it for right or left-handed shooters
- Build for your intended purpose, whether it’s competition, home defense, hunting, or recreational shooting
Perhaps the biggest advantage is that you can avoid paying for factory parts you’ll eventually replace.
Before You Begin
Always verify your local, state, and federal laws before purchasing components or assembling a firearm. For example, if you are doing a pistol build, make sure that you comply with SBR laws regarding stocks and braces.
You’ll also want a clean workspace with plenty of lighting and organization for small springs, detents, and pins.
Basic Tools You’ll Need
- Bench vise
- Upper receiver vise block or reaction rod
- Armorer’s wrench
- Torque wrench
- Roll pin punches
- Roll pin starter punches
- Brass or nylon hammer
- Needle-nose pliers
- Hex keys
- Small torque driver
- Aeroshell or quality assembly grease
- Blue thread locker where appropriate
- Safety glasses
Using the correct tools reduces the chance of scratching or damaging your rifle during assembly.
Step 1: Gather Your Parts
An AR-15 consists of two primary assemblies:
Lower Receiver
You’ll need:
- Stripped lower receiver
- Lower parts kit
- Trigger assembly
- Safety selector
- Magazine catch
- Bolt catch
- Pivot and takedown pins
- Buffer tube
- Castle nut
- End plate
- Buffer spring
- Buffer
- Stock
- Pistol grip
Upper Receiver
You’ll need:
- Stripped or assembled upper receiver
- Barrel
- Barrel nut
- Gas block
- Gas tube
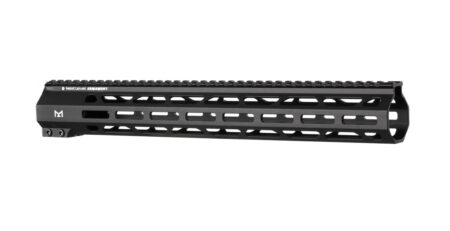
- Handguard
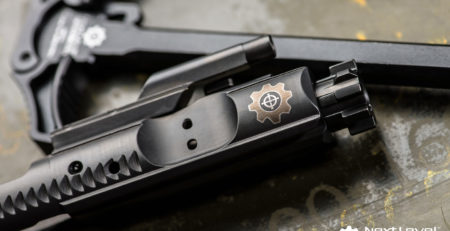
- Bolt carrier group
- Charging handle
- Muzzle device
This is where premium components from Next Level Armament can make a noticeable difference. High-quality charging handles, muzzle devices such as compensators or suppressors, and precision-machined components improve both performance and durability.
Step 2: Assemble the Lower Receiver

Most builders begin with the lower receiver.
Install the following in order:
- Magazine catch
- Bolt catch
- Pivot pin
- Trigger guard
- Fire control group
- Safety selector
- Pistol grip
- Rear takedown pin
- Buffer retainer
- Receiver extension (buffer tube)
- Castle nut and end plate
- Buffer spring and buffer
- Stock
Take your time during this process. The pivot pin detent and bolt catch roll pin are among the easiest parts to lose or scratch.
Step 3: Assemble the Upper Receiver
The upper requires more specialized tools but follows a logical order.
Install the Barrel
Insert the barrel into the upper receiver.
Apply assembly grease to the barrel extension and barrel nut threads before torquing the barrel nut to specification.
Always follow the manufacturer’s torque recommendations.
Install the Gas Block and Gas Tube
Insert the gas tube into the gas block.
Secure the assembly onto the barrel while ensuring proper gas port alignment.
A properly aligned gas block is critical for reliable cycling.
Install the Handguard
Slide the handguard over the barrel and secure it using the manufacturer’s hardware.
Ensure it is properly aligned with the upper receiver before tightening.
Install the Muzzle Device
Apply the proper shim kit or crush washer.
Torque the muzzle device until properly indexed.
A quality muzzle device from Next Level Armament can reduce recoil, improve muzzle control, and provide compatibility with suppressor systems depending on the model.
Step 4: Install the Bolt Carrier Group and Charging Handle
This is one of the easiest steps.
Simply:
- Insert the charging handle.
- Slide in the bolt carrier group.
- Close the upper receiver.
Many shooters upgrade to an ambidextrous charging handle for faster manipulations and improved ergonomics, especially when using optics or shooting from unconventional positions.
Step 5: Join the Upper and Lower
Connect both halves using the pivot and takedown pins.
Your rifle should now be fully assembled.
Before loading any ammunition, perform a complete function check.
Step 6: Perform a Function Check
Verify the following:
- Safety engages correctly
- Trigger resets properly
- Hammer functions correctly
- Bolt locks to the rear
- Magazine inserts and releases smoothly
- Charging handle operates freely
- Takedown pins move properly
- No loose components
Never skip this step.
Step 7: Zero Your Rifle

Once you’ve confirmed safe operation at the range:
- Bore sight your optic if applicable
- Confirm mechanical function
- Zero your optic or iron sights
- Test multiple magazines
- Fire various ammunition types
- Verify consistent ejection patterns
Many shooters establish a 50-yard zero, though your preferred distance depends on your intended use.
Common AR-15 Build Mistakes
Avoid these frequent errors:
Over-Torquing Components
More torque isn’t always better. Follow manufacturer specifications.
Losing Small Parts
Detents and springs have a habit of launching across the room.
Work inside a clean, organized area.
Poor Gas Block Alignment
Even slight misalignment can lead to cycling issues.
Using Low-Quality Components
Cheap parts often create expensive problems later.
Investing in precision-machined components from reputable manufacturers helps maximize reliability and longevity.
Skipping Lubrication
Proper lubrication during assembly and break-in helps ensure smooth operation and reduces unnecessary wear.
Why Quality AR-15 Parts Matter
Every component contributes to your rifle’s overall performance.
Premium components offer:
- Improved reliability
- Better fit and finish
- Tighter tolerances
- Longer service life
- More consistent performance
- Greater confidence under demanding conditions
Whether it’s a precision-machined charging handle, a high-performance muzzle device, or other upgrade components, quality parts can make your rifle easier to operate and more dependable over thousands of rounds.
Build It Right with Next Level Armament
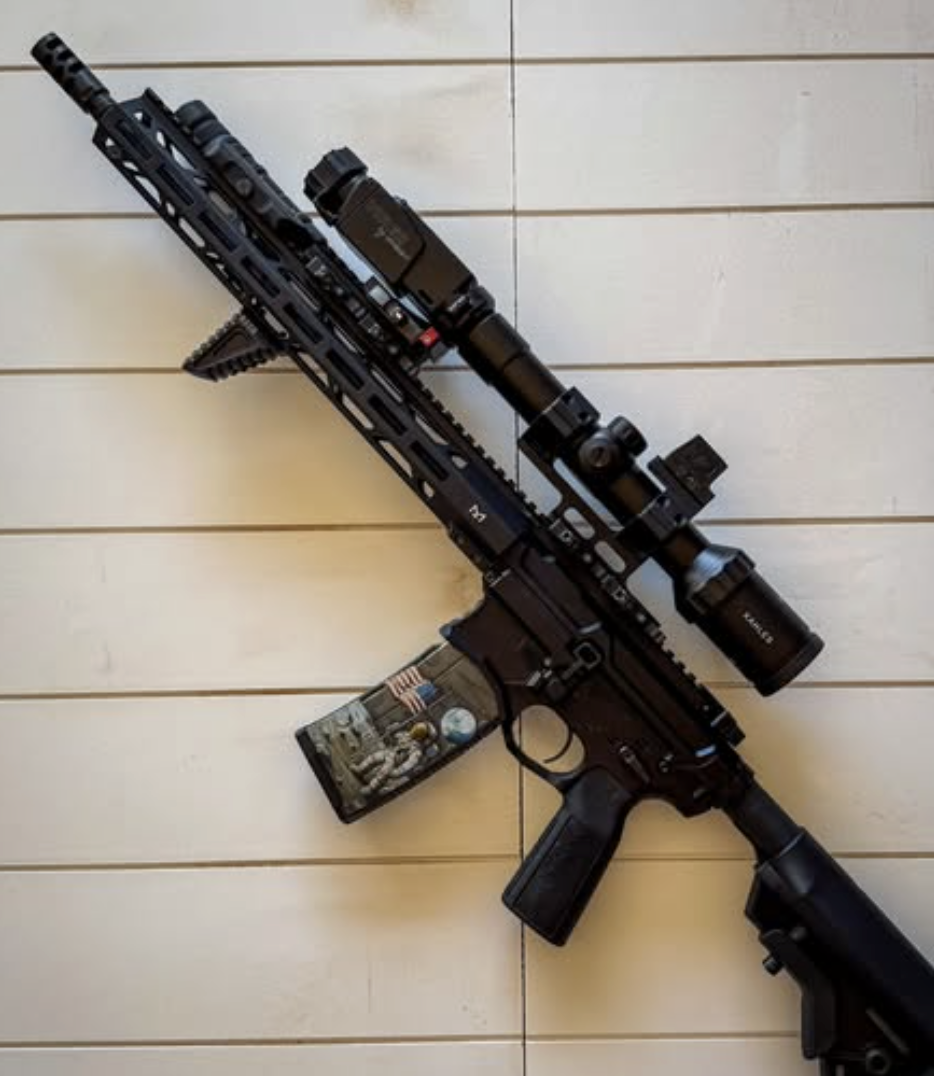
A custom AR-15 build allows you to create a rifle tailored to your exact needs, whether you’re building for competition, recreational shooting, home defense, a truck gun, or range use. Starting with high-quality components helps ensure the finished rifle performs as intended from the first shot to the thousandth.
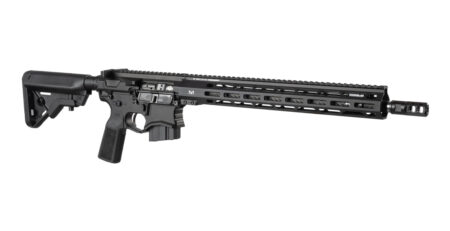
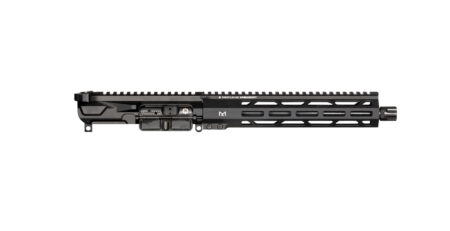
Next Level Armament manufactures premium AR-15 components designed for shooters who demand precision, durability, and dependable performance. From charging handles and muzzle devices to other performance-focused upgrades, NLA parts are engineered to help you get the most out of every build.
If you’re planning your next AR-15 project, choose components built to perform at the next level.
Be sure to check out Next Level Armament and follow us on Instagram!



Leave a Reply
You must be logged in to post a comment.