How to Clean Your AR
Dylan Wolfinger2025-11-12T10:57:48-05:00Your Rifle Reliable and Ready
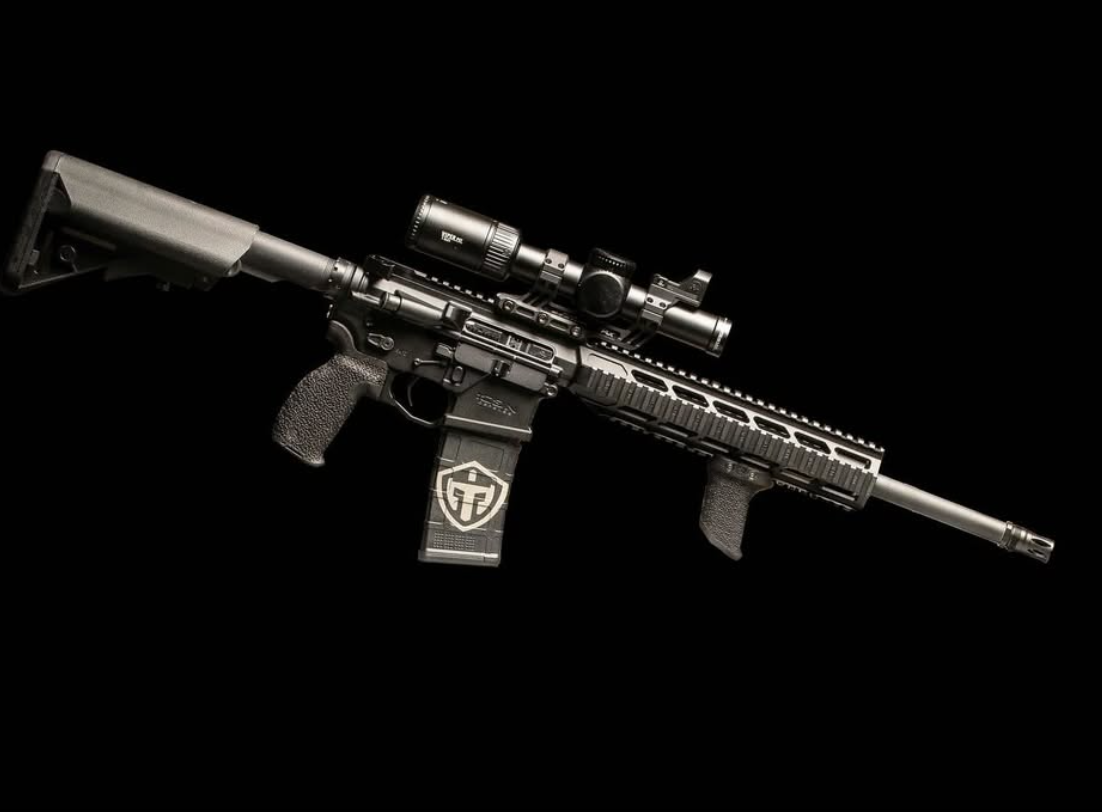
Heading to the range and dumping mags is certainly fun, but causes a build up of gunk that can affect how your rifle fires, and even wear down parts. That being said, regular maintenance is one of the most important aspects of owning an AR-platform rifle. Whether it’s a duty gun, a range toy, or a home defense weapon, your rifle’s reliability depends on how well it’s cleaned and maintained. Proper upkeep prevents malfunctions, extends the life of your components, and ensures that your rifle is ready when you need it most.
Our team at Next Level Armament is going to break it down
The Importance of Regular Maintenance

Every time you shoot, carbon, copper, and powder residue build up inside your AR. These deposits can cause friction, fouling, and corrosion if not properly removed. Over time, a dirty rifle will start to show signs of poor performance—like failures to feed, extract, or cycle correctly.
Routine cleaning also helps you inspect the condition of your parts. You’ll be able to spot small cracks, worn springs, or corrosion before they turn into a real problem. A well-maintained rifle not only performs better but is also safer to operate.
What You’ll Need
To clean your AR properly, you’ll need a few basic tools and cleaning supplies. Start with a good-quality bore solvent and lubricant designed for firearms. You’ll also want a cleaning rod or bore guide, a bronze bore brush, nylon brushes, and plenty of patches or rags.
Having a small set of tools, such as Allen keys or a punch, will make disassembly easier. A dedicated cleaning mat or workspace also helps keep parts organized and prevents losing small components.
The Process of Cleaning a Rifle

Step 1: Ensure the Rifle Is Unloaded
Before you start, always make sure your rifle is unloaded. Remove the magazine, pull the charging handle back, and visually and physically check that the chamber is empty. This step cannot be overstated—safety should always come first.
Step 2: Field Strip the Rifle
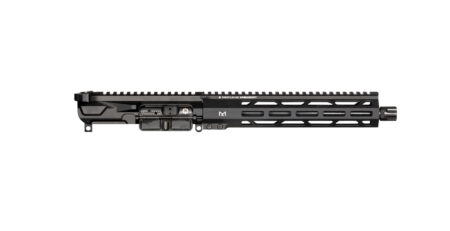
Separate the upper and lower receivers by pushing out the takedown pins. Remove the bolt carrier group (BCG) and charging handle from the upper receiver. These parts tend to collect the most fouling, so they’ll need extra attention.
Step 3: Clean the Barrel and Chamber
Apply a small amount of solvent to a patch and push it through the barrel from the chamber end toward the muzzle. This direction ensures debris exits the barrel instead of being pushed deeper inside. Use a bore brush to loosen stubborn fouling, then follow up with clean patches until they come out mostly white.
Don’t forget the chamber—use a chamber brush or swab to clean this critical area where the cartridge seats. A dirty chamber can lead to poor extraction and reliability issues.
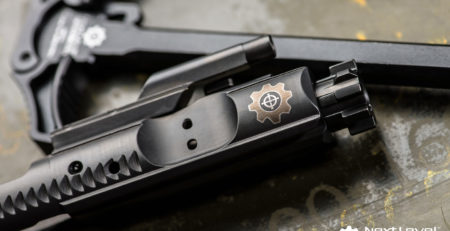
Step 4: Clean the Bolt Carrier Group
The BCG is the heart of your AR’s action. Scrub the bolt, carrier, and gas key with solvent and a nylon brush to remove carbon buildup. Pay close attention to the bolt face, extractor, and cam pin channel. Once clean, dry the parts and apply a light coat of lubricant to friction points such as the bolt lugs and carrier rails.
Step 5: Wipe Down the Receivers
Use a rag or cotton swab to clean the inside of the upper receiver, focusing on the star chamber and the area around the gas tube. Remove grime and excess oil from the lower receiver as well, particularly around the trigger group and buffer tube area. A light film of lubricant on moving parts will help prevent corrosion and ensure smooth operation.
Step 6: Reassemble and Function Check
After all parts are clean and lightly oiled, reassemble the rifle in reverse order. Perform a quick function check to ensure everything cycles smoothly—charge the handle, dry fire on safe and fire settings, and make sure the trigger resets properly.
How Often Should You Clean Your AR?
How often you clean depends on how you use your rifle. If you shoot regularly or in harsh environments, a full cleaning after each range session is ideal. For occasional use, a light wipe-down and lubrication may be enough, with a deeper clean every few hundred rounds.
If your rifle has been exposed to rain, snow, or dirt, it’s best to clean it right away to prevent corrosion.
Common Mistakes to Avoid
Avoid cleaning the barrel from the muzzle end—it can damage the crown and affect accuracy. Don’t over-lubricate either, as too much oil attracts dirt and carbon. Use the correct size cleaning tools and avoid steel brushes or harsh abrasives that could damage the barrel or finish.
When to Replace Parts

Even with proper care, small components like extractor springs, gas rings, or firing pins eventually wear out. Inspect your rifle regularly for signs of damage or fatigue. If you notice any worn or broken parts, replace them immediately rather than trying to make them work.
For shooters who demand reliability and precision, Next Level Armament offers some of the best replacement parts and upgrades from better charging handles to attachments such as suppressors available for AR-platform rifles. Their components are known for tight tolerances, smooth operation, and long-term durability—ideal for anyone who takes their rifle performance seriously.
Final Thoughts
Cleaning your AR isn’t complicated, but it does require consistency and attention to detail. Proper maintenance ensures that every time you pull the trigger, your rifle performs as expected. A clean rifle is a reliable rifle—and when paired with high-quality parts from companies like Next Level Armament, you can count on your AR to perform at its best for years to come.
Would you like me to add a short meta description for SEO (around 150 characters) to go with this article?


Leave a Reply
You must be logged in to post a comment.